
|
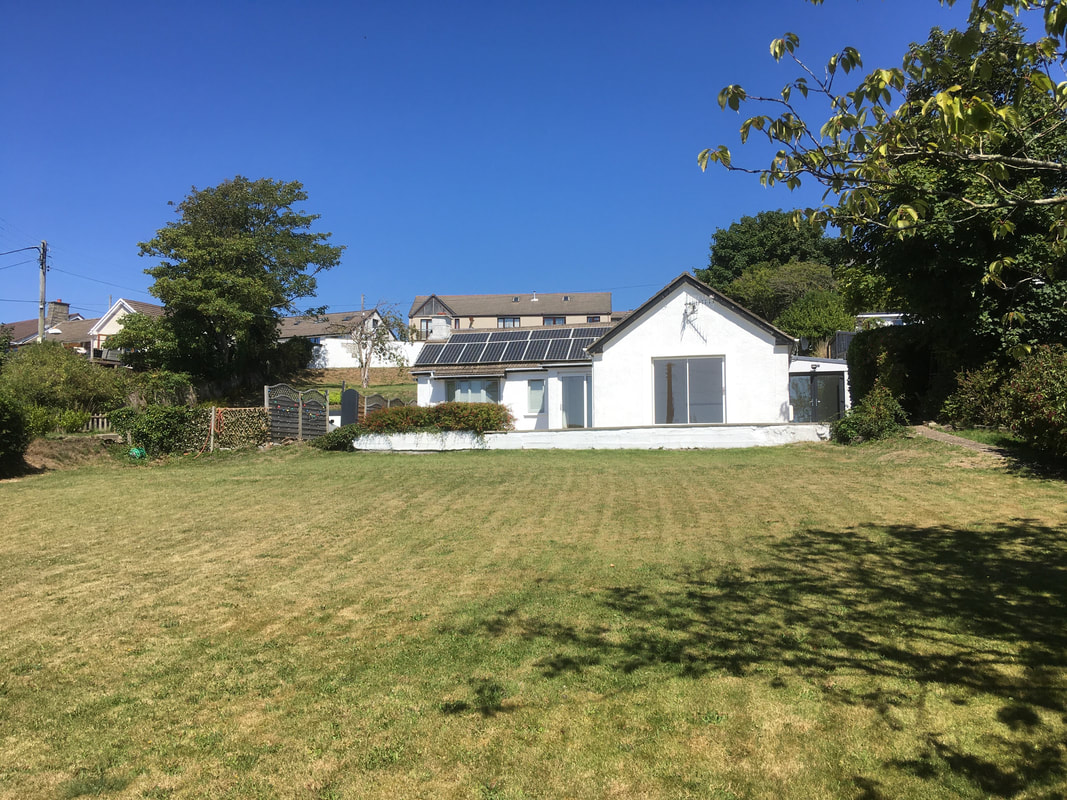
In preparation for the new extension, the old main bedroom needed to be converted into the new living room. This would allow access into the extension containing the extra bedroom we wanted. The room as it stood had some issues with damp on the cemented back wall and old leakiy windows. One wall had been framed and plasterboarded over and this would have been where the old chimney was, which we were eager to expose. The first step was to take down the timber frame wall, which exposed a roughly cemented wall with a vent where the chimney should be. Opening this out revealed 3 seperate iron lintels for different fireplaces, and surprisingly the remains of a large wooden lintel in the back of the chimney. Presumably the original lintel, perhaps for an exterior chimney.  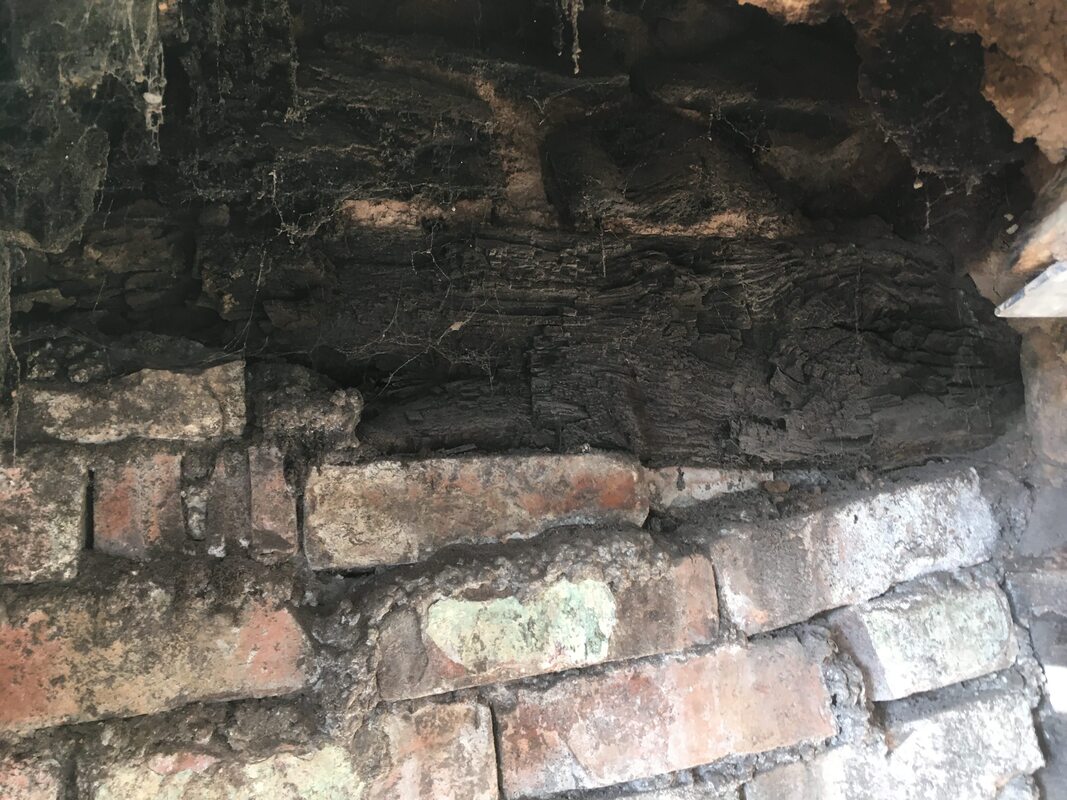 After reinforcing the chimney sides I replaced the original lintels with a modern concrete one and rebuilt the chimney above it. Removing the rest of the cement render on the wall, revealed a present surprise. the existence of an original doorway which had been filled in, but which would be ideal for entry to the extension. 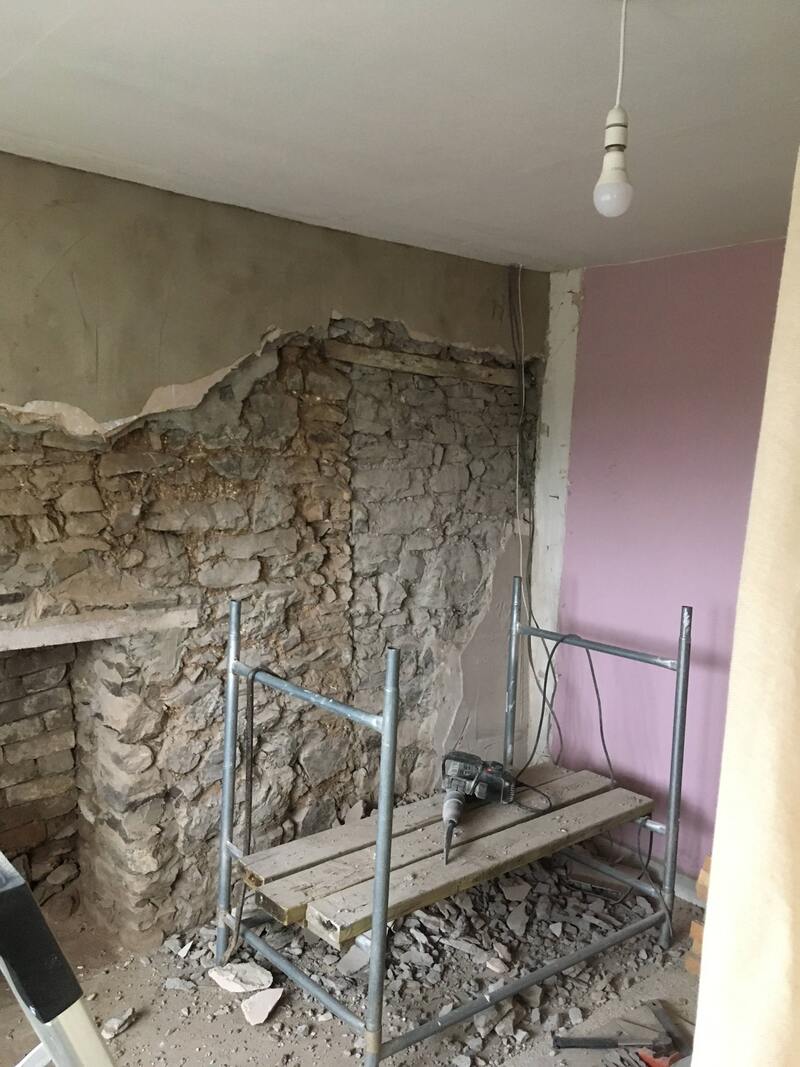 After removing the infill, I reinforced the opening using 4 new concrete lintels instead of the existing wooden ones which had rotted. The damp back wall (to the right in the image), was stripped of its cement and covered with timber frame and insulation (70mm), after venting the ceiling above to the attic to allow moisture out. Insulated plasterboard (25mm) were then screwed over the top. 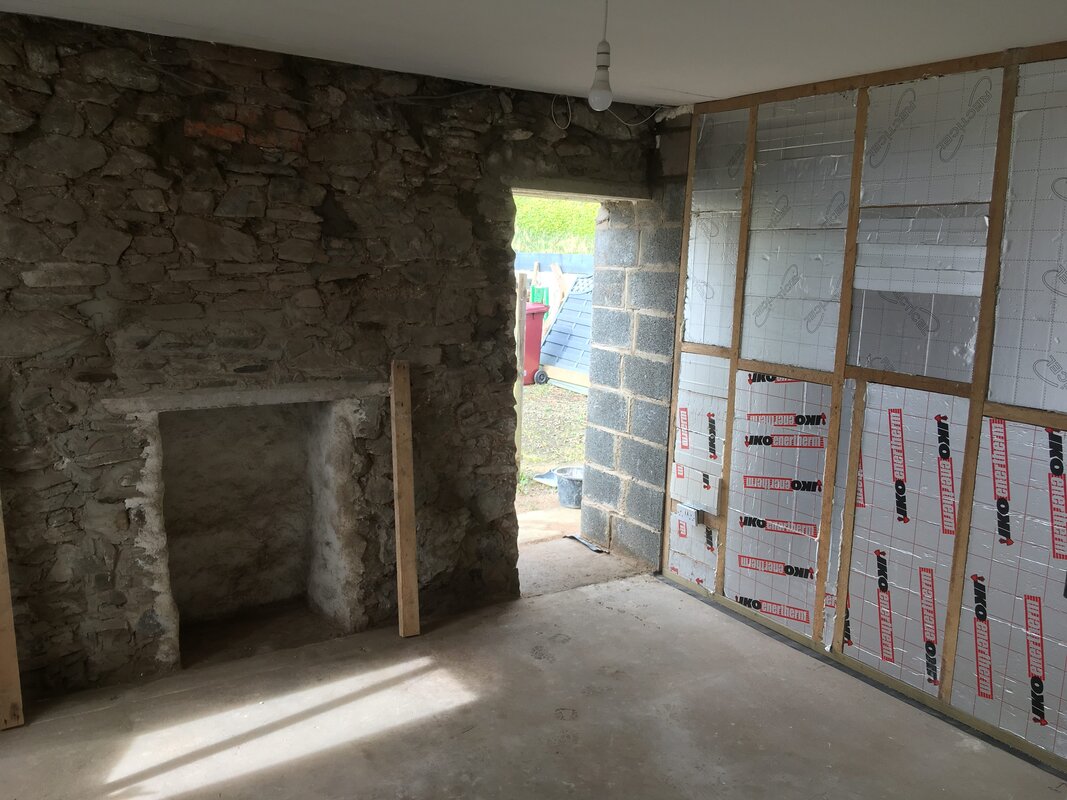 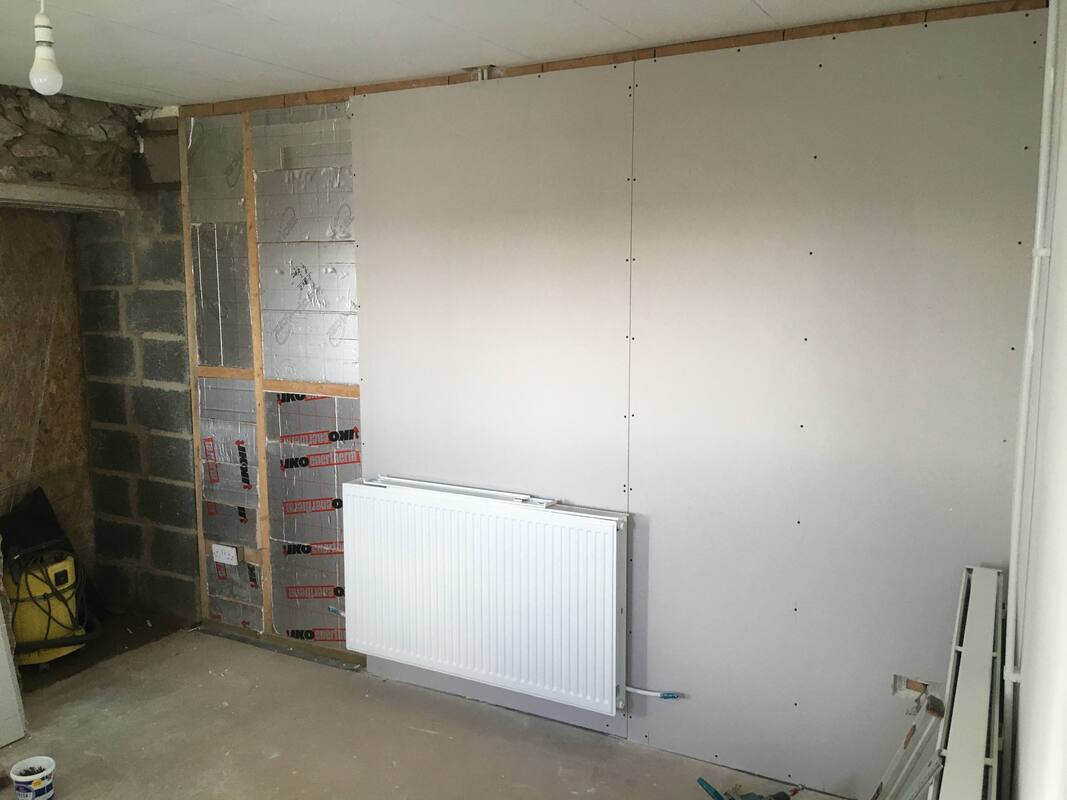 An extra radiator was placed on this wall to allow the flow temperature of the water heating to be reduced and enable a higher COP. To help this goal, insulated plasterboard (25mm) was used to overboard the current ceiling and insulated lime render applied to the chimney wall. 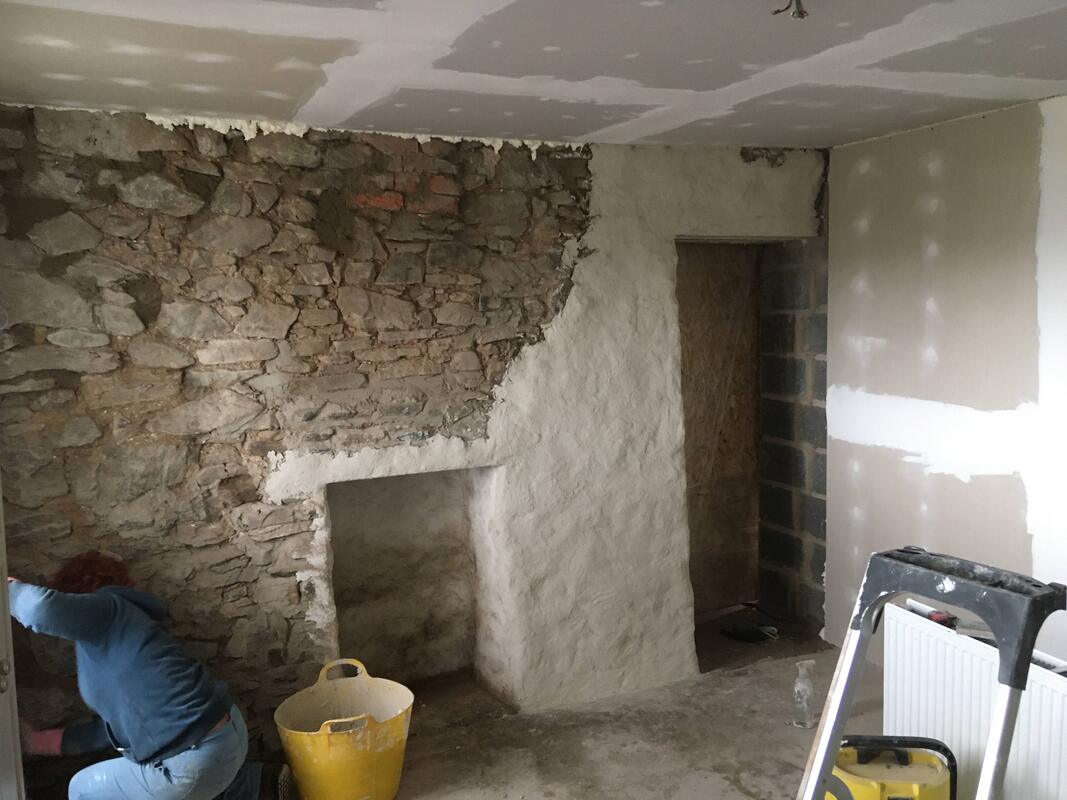 A new bay window with better insulation (70mm + 25mm insulated plasterboard) was built ready for a new double glazed unit to be added. 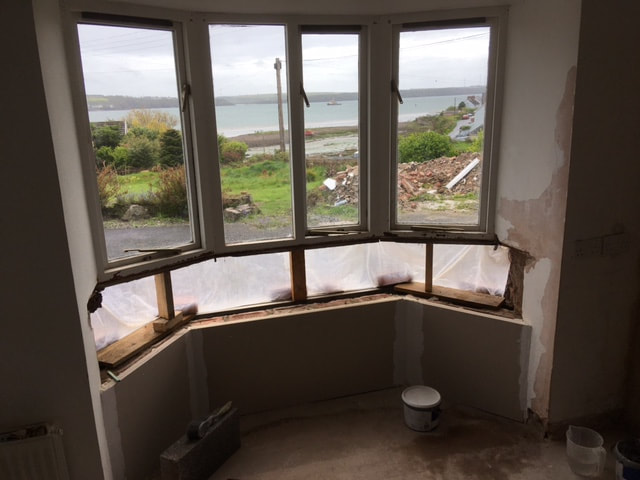
0 Comments
The soak away is now finished during the Indian Summer! The next step will be to insert a rainwater collection tank between the gutter pipe and the soak away. 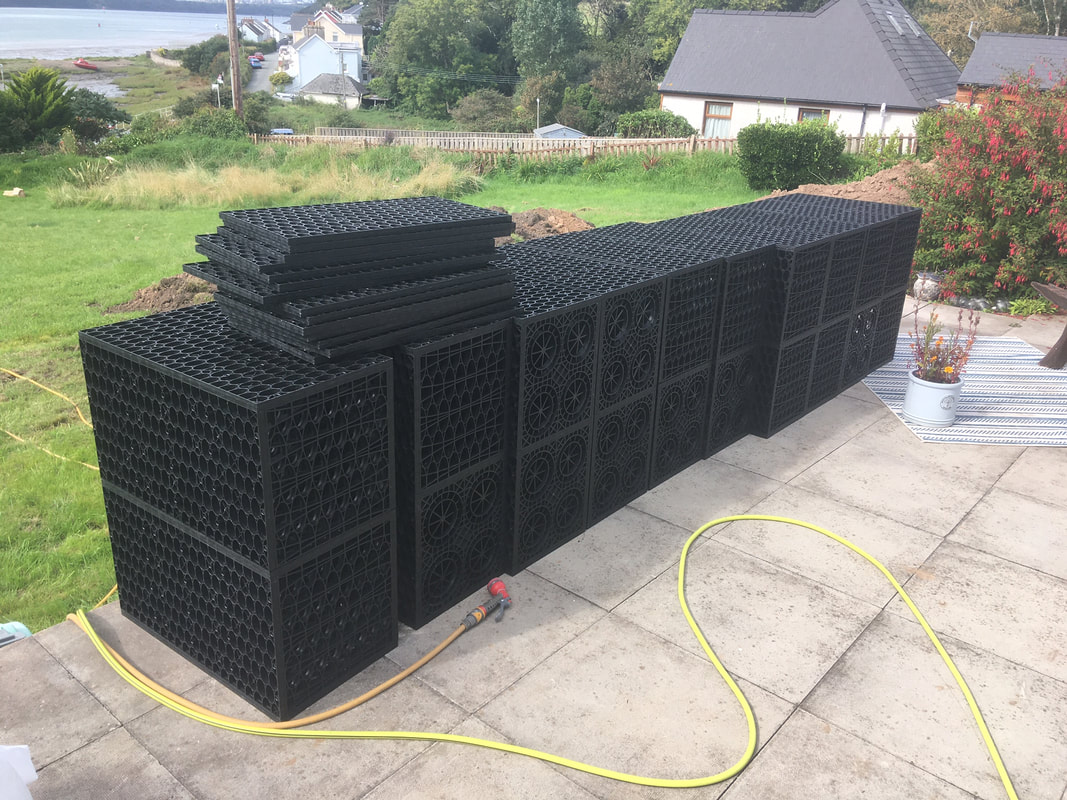  This test is to see how well your soil drains and hence how big your soakaway needs to be. Essentially it involves digging a big hole in the ground, filling it with water very quickly and timing how long it takes to drain from 75% full to 25% full. This is done three times in quick succession. The test itself is eay to look up, but the method of calculation is a bit more challenging. You can send your results to firms and they will do it for you for a fee, but I know I have some Scottish ancestry so I managed to work out how to do the calculation by looking at examples of completed forms online. What the results should show is that the longer the rainstorm goes on for, the bigger soakaway you will need up to a point. After that point, if it keeps raining the size gets smaller. The rainstorm you have to calculate for is a 1 in 100 year event and add 40% on for the effects of global warming. My calculation is below and shows that a 240 minute storm needs a 2.89 m cubed soakaway, therefore a 3m cubed soakawat kit will be needed if I use the plastic soakaway crates that have a 95% void.  After stripping the stone wall of its cement coating to let it dry, the time had come to work out what to put back in its place. I considered insulated plasterboard and timber frame with breathable insulation, but in the end decided to give a lightweight insulated lime plaster a go. As the description suggests, it is indeed very light and goes by the trade name of Cornerstone Insulated Render. I bought a single bag just to try it out, mixing it was pretty easy and then applied it by hand to wall. We were quite happy to have a traditional knobbly look to the outer wall in the spare bedroom. It took several days to dry fully but the result looked pretty good, additional layers could be applied to increase the thermal insulation value of the wall, while at the same time allowing moisture to escape unlike the cement render. At least, that is the story, time will tell how effective it is.  While the good weather was here, I finally got around to increasing the insulation above my flat roof in the kitchen. As mentioned previously the installed PIR insulation had been cut through to allow the spotlights to be fitted, so I layed some firm mineral wool over the top. Hopefully this will make a difference come winter. 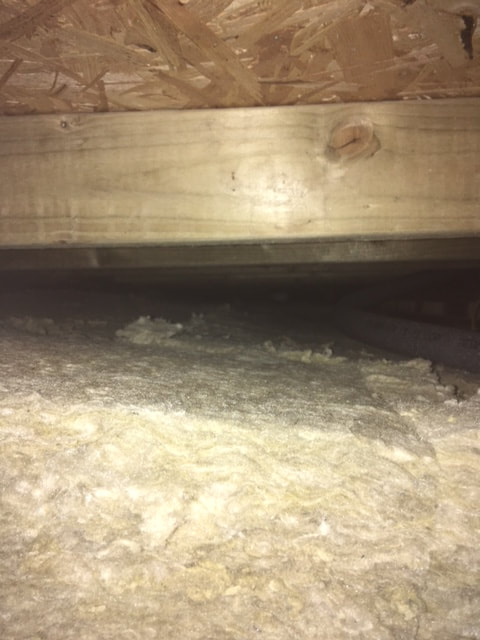 We knew that the older part of the building had some issues with damp, so it was time to see what was happening. On hacking off the cement and plaster in the second bedroom, a very damp wall in places was exposed. The mortar was very soft in these areas and could even be scooped out with a finger! 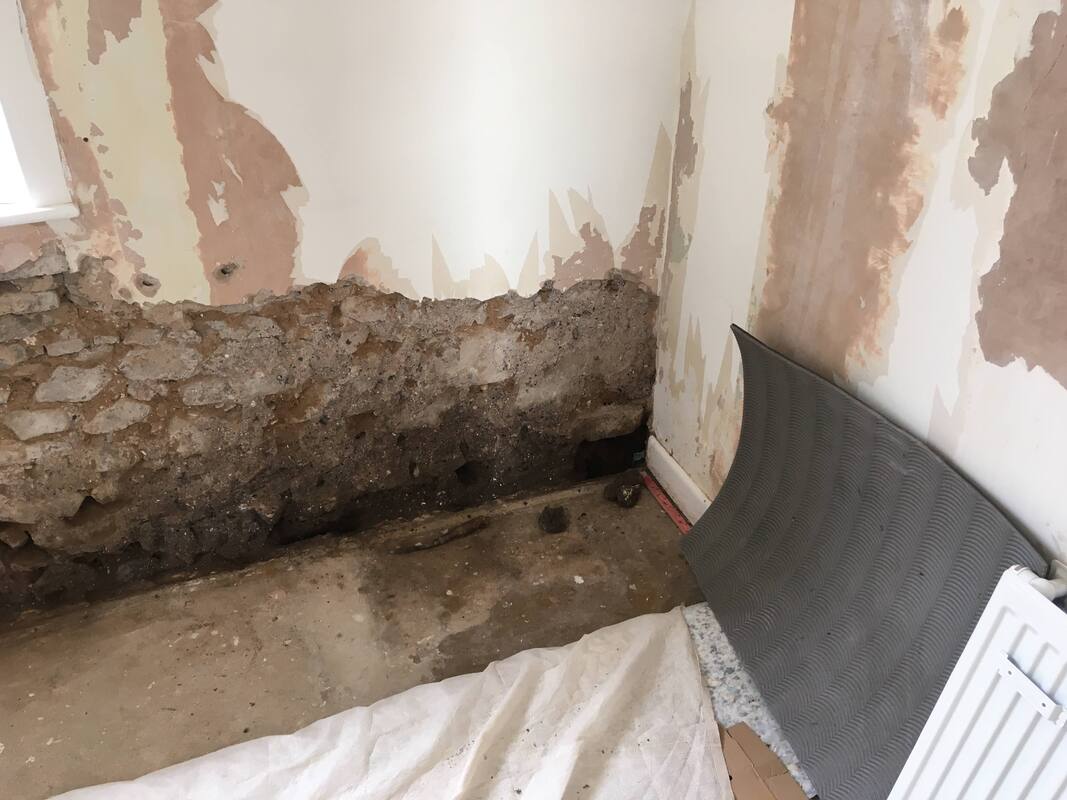 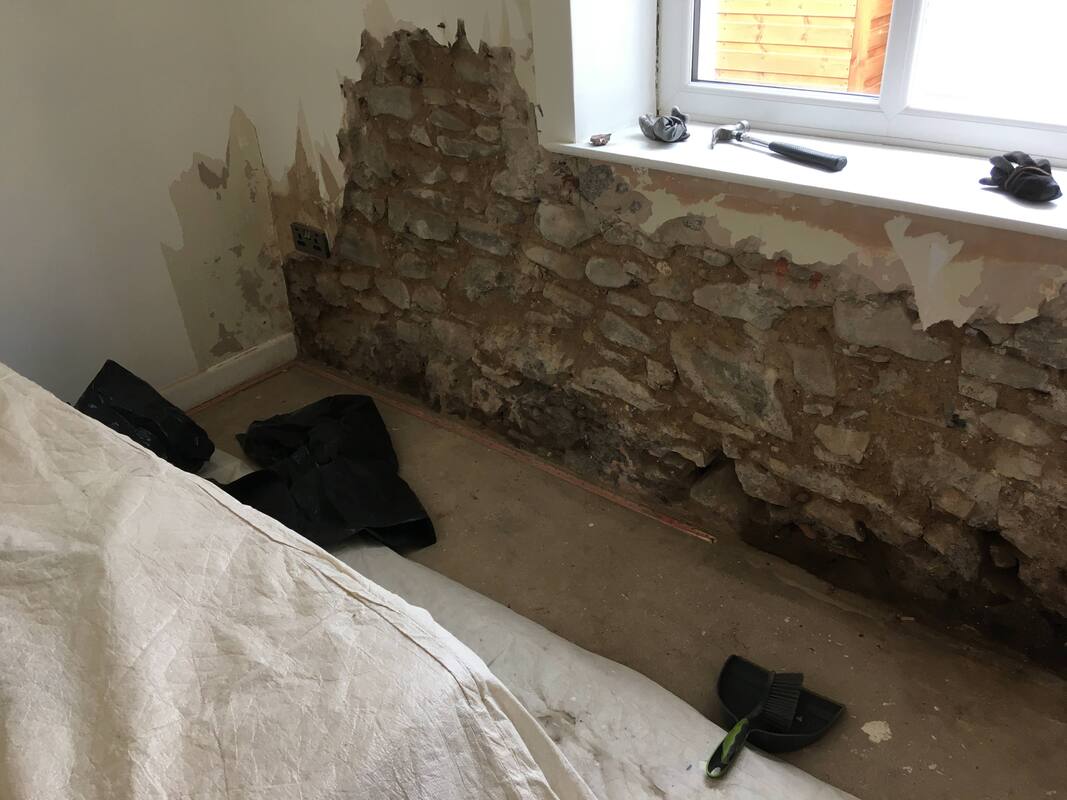 There are a couple of schools of thought on how to deal with this problem. One is to effectively tank the wall to keep the moisture out of the room, the other is to use a breathable material on the wall to allow it to breathe. However the wall would have to dry out before doing anything and the source of the damp remedied.
It wasnt obvious where the damp was coming from, but the guttering was checked and a dehumidifier was put in the room. |
AuthorEx Radiographer, Information Analyst, Teacher and Self-builder. Now retired Archives
December 2023
Categories
All
|
 RSS Feed
